
What this allows you to do
Use Toqan to interact with Slack directly through MCP, without writing API code or maintaining custom integrations. Common use cases:
- Search public and private Slack messages your account can already see
- Read channel and thread history for research, summaries, and status reports
- Send messages and threaded replies on your behalf
- Create, read, and update Slack Canvases
- Add and read reactions, look up users and emojis
Overview
Time to set up:
- ~10 minutes for Part 1 (create the Slack app)
- ~5–10 minutes for Part 2 (add the MCP server to your Toqan agent)
- ~5 minutes for Part 3 (optional — company admins publishing to the MCP Marketplace)
What you will need
- A Toqan account
- A Slack workspace where you can create and install Slack apps
Part 1: Create the Slack app from the manifest
Create a Slack app from the manifest, install it to your workspace, and copy the Client ID and Client Secret. You’ll paste those into Toqan in Part 2.
Step 1: Open Slack’s app dashboard
- Go to https://api.slack.com/apps and sign in
- Click Create New App
- Choose From a manifest
- Pick the Slack workspace that will own the app
- Switch to the JSON (or YAML) tab and paste one of the manifests from Step 2 below
- Click Next, review the configuration summary, then click Create
Step 2: Manifest files
Use one of the formats below — they’re equivalent.
JSON
{
  "display_information": {
    "name": "Toqan Slack MCP App"
  },
  "features": {
    "bot_user": {
      "display_name": "Toqan Slack MCP App",
      "always_online": true
    }
  },
  "oauth_config": {
    "redirect_urls": [
      "https://work.toqan.ai/callback/mcp",
      "https://work.toqan.ai/callback/oauth"
    ],
    "scopes": {
      "user": [
        "search:read.public",
        "search:read.private",
        "search:read.mpim",
        "search:read.im",
        "search:read.files",
        "search:read.users",
        "chat:write",
        "channels:history",
        "groups:history",
        "mpim:history",
        "im:history",
        "canvases:read",
        "canvases:write",
        "users:read",
        "users:read.email",
        "reactions:write",
        "reactions:read",
        "emoji:read",
        "files:read",
        "channels:write",
        "groups:write",
        "im:write",
        "mpim:write",
        "channels:read",
        "groups:read",
        "mpim:read"
      ],
      "bot": [
        "channels:history",
        "groups:history",
        "im:history",
        "mpim:history",
        "chat:write",
        "channels:read"
      ]
    },
    "pkce_enabled": true
  },
  "settings": {
    "org_deploy_enabled": true,
    "socket_mode_enabled": false,
    "token_rotation_enabled": false,
    "is_mcp_enabled": true
  }
}
YAML
display_information:
  name: Toqan Slack MCP App
features:
  bot_user:
    display_name: Toqan Slack MCP App
    always_online: true
oauth_config:
  redirect_urls:
    - https://work.toqan.ai/callback/mcp
    - https://work.toqan.ai/callback/oauth
  scopes:
    user:
      - search:read.public
      - search:read.private
      - search:read.mpim
      - search:read.im
      - search:read.files
      - search:read.users
      - chat:write
      - channels:history
      - groups:history
      - mpim:history
      - im:history
      - canvases:read
      - canvases:write
      - users:read
      - users:read.email
      - reactions:write
      - reactions:read
      - emoji:read
      - files:read
      - channels:write
      - groups:write
      - im:write
      - mpim:write
      - channels:read
      - groups:read
      - mpim:read
    bot:
      - channels:history
      - groups:history
      - im:history
      - mpim:history
      - chat:write
      - channels:read
  pkce_enabled: true
settings:
  org_deploy_enabled: true
  socket_mode_enabled: false
  token_rotation_enabled: false
  is_mcp_enabled: true
Step 3: Install to your workspace
- In the app dashboard, go to Install App in the left sidebar
- Click Install to Workspace
- Approve the requested scopes
- (Enterprise Grid only) If your org uses Enterprise Grid, also approve the app at the org level. The manifest sets
org_deploy_enabled: true, so org-wide deploy is allowed.
Step 4: Copy the Client ID and Client Secret
From the Slack app’s Basic Information page, scroll to the App Credentials section:
- Copy the Client ID
- Click Show next to Client Secret and copy it
- Keep them handy — you’ll paste them into Toqan in Part 2
Part 2: Add the Slack MCP server to your Toqan agent
Connect the Slack app you created in Part 1 to your Toqan agent. This follows the general MCP setup process, with Slack-specific values pre-filled.
Step 1: Create the MCP server in Toqan
- Navigate to your agent in Toqan and open the Tools tab
- Click Add MCP Servers
- Give it a name, e.g.
Slack MCP
Step 2: Enter the URL
Slack MCP server URL: https://mcp.slack.com/mcp
Step 3: Protocol selection
Slack uses Streamable HTTP — the URL ends with /mcp.
Step 4: Configure authentication
- Select OAuth as the authentication method
- Toqan attempts OAuth discovery automatically; for Slack, this pre-fills the auth endpoints
- Slack does not support Dynamic Client Registration (DCR), so select Manual Client Registration:
- Paste the Client ID from your Slack app (Part 1, Step 4)
- Paste the Client Secret from your Slack app (Part 1, Step 4)
- Click Confirm
Step 5: Safety confirmations
Review the safety considerations, check both confirmation boxes, and click Next.
Step 6: Scopes
The Slack MCP server requests the scopes it needs (search, channel/group/DM history, chat:write, canvases, reactions, users, files — see the Reference section below for the full list). Click Approve.
Step 7: Authorize Slack
- Click Authorize
- Log in to Slack if you aren’t already
- Slack shows “Toqan Slack MCP App is requesting access…” — review the permissions and click Allow
- You’re redirected back to Toqan
- A green status indicator appears with “you have a valid token”
Step 8: Manage which tools the agent can use
On the new MCP server, click the three dots next to the settings wheel → Manage tools. A solid starting set:
- SendMessage — post messages
- ReadChannel / ReadThread — pull message history
- SearchPublic / SearchPublicAndPrivate — find content
- CreateCanvas / ReadCanvas / UpdateCanvas — work with Slack Canvases
- ListChannelMembers, ReadUserProfile — channel and user context
- AddReaction / GetReactions — reactions
Enable only the tools your agent actually needs.
Step 9: Add Slack guidance, test, and publish
(Optional but recommended) In the agent’s Details tab, add a short block to the instructions field telling the agent how to use Slack. Don’t delete the existing instructions. Example:
Slack usage — When asked to share a result, post it in
#{channel-id}(“channel-name”) using the SendMessage tool. Always include a one-line summary in the message header.
You can find a channel ID by opening the channel in Slack, clicking its title, and scrolling to the bottom.
Then:
- Click Save
- Open the agent and ask what tools it can access — Slack tools should appear in the list
- Try a real task, for example: “Summarize today’s messages in #toqan-eng and post the summary back to the channel.”
- When you’re happy with the result, click Publish
- When you share the agent with someone else, they will need to authorize their own Slack account (each OAuth user token is per-person)
Part 3: Make the Slack MCP available company-wide (Toqan admins)
(Optional) Once Part 1 is done, a Toqan company admin can publish the Slack MCP to your company’s MCP Marketplace. After that, anyone in your company can add the Slack MCP to their agent in a couple of clicks — they don’t need the URL, Client ID, or Client Secret themselves, only their own Slack account to authorize.
Step 1: Open the MCP listings tab
In the Toqan admin panel, navigate to the MCP listings tab.
Step 2: Create a new listing
- Click Create New Listing
- Enter the Slack MCP connection details:
- URL:
https://mcp.slack.com/mcp - Protocol: Streamable HTTP
- Auth: OAuth (Manual Client Registration)
- Client ID and Client Secret from your Slack app (Part 1, Step 4)
- URL:
- Add a clear description, e.g. “Search, read, and post in Slack from your Toqan agent — uses your own Slack permissions.”
- Note any prerequisites, e.g. “Each user will authorize their own Slack account on first use.”
Step 3: Test the listing
Before publishing, run a quick test from your own agent to confirm:
- The OAuth flow completes and Toqan ends up with a valid user token
- Slack MCP tools appear under Manage tools
- A simple tool call (e.g. SearchPublic or SendMessage) works
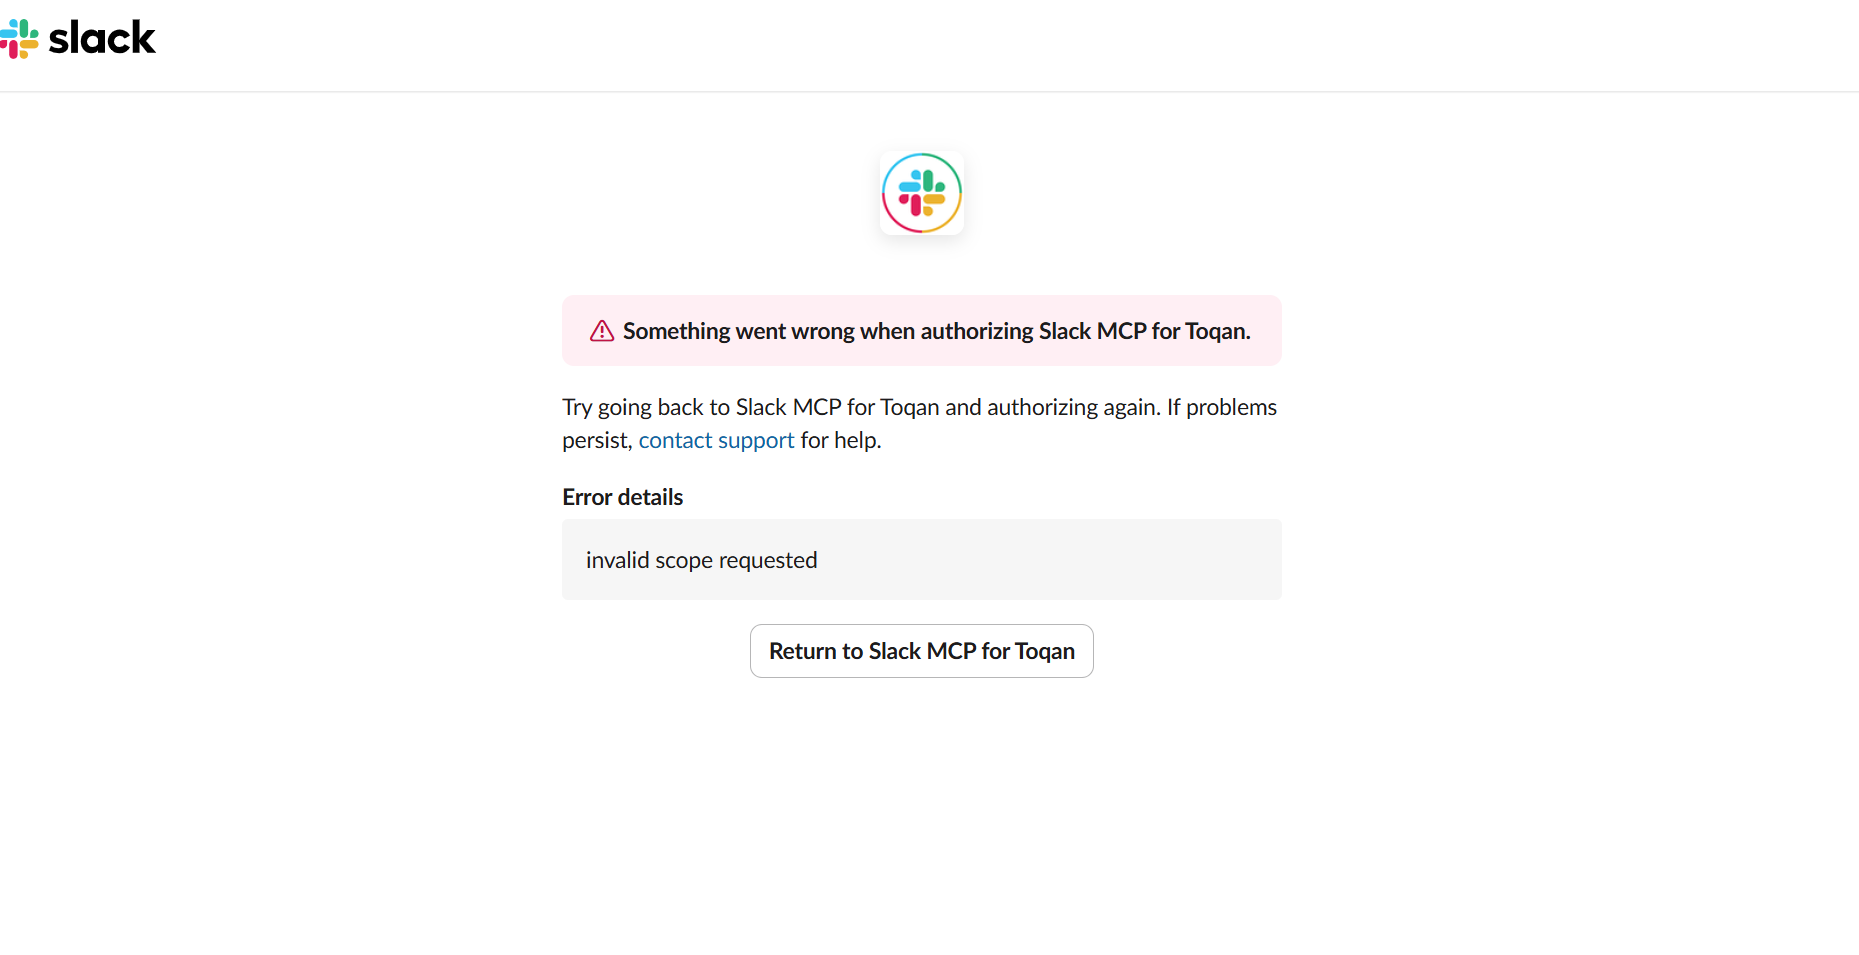
Step 4: Publish
Click Publish. The Slack MCP listing is now visible to every user in your company under Tools → MCP Servers → from Marketplace.
Reference: what’s in the manifest
The Slack MCP app is configured with:
- User token scopes — the agent acts as the connected user: search across channels/DMs/files, read channel/group/DM/MPIM history, post messages, manage Canvases, read/write reactions, look up users.
- Bot token scopes — minimal: read channel/group/DM/MPIM history, post messages, list channels.
- PKCE enabled — required for MCP OAuth flows.
is_mcp_enabled: true— marks this app as a Slack MCP app.socket_mode_enabled: falseand no event subscriptions — the app is request/response only; it doesn’t subscribe to incoming Slack events.
FAQ
Can I limit what data the agent can see in Slack?
Yes. The agent uses your Slack user token, so it can only see channels you’re already a member of. You can also restrict which Slack MCP tools the agent has access to (Step 8 of Part 2) — e.g. make it read-only by disabling SendMessage and any *:write tools.
Why does the manifest request so many user scopes?
Slack MCP exposes a wide range of tools (search, history, write, canvases, reactions). Each tool requires its corresponding scope. You don’t have to expose every tool to every agent — pick only the tools your agent needs in Toqan.
Does this work with Enterprise Grid?
Yes — the manifest sets org_deploy_enabled: true. A Grid admin needs to approve and deploy the app at the org level once; after that, individual workspaces can install it.
How do I update the app later (e.g. add a new scope)?
Edit the manifest at api.slack.com/apps → your app → App Manifest, paste an updated version, and click Save Changes. Existing installs will be prompted to re-authorize when new scopes are added.